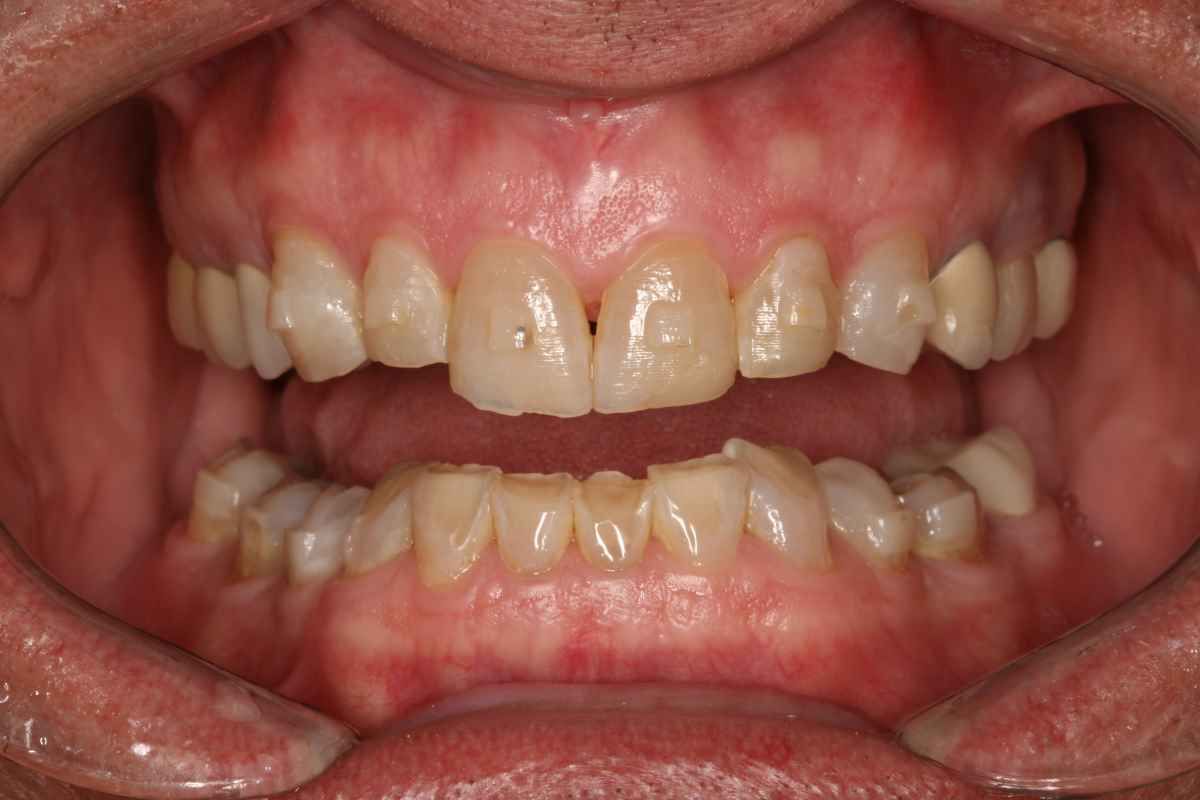
Providing excellent cosmetic dentistry has so many inherent challenges that it is impossible to list them all. In the early stages of my career, just learning what makes a smile look esthetic was an incredible learning opportunity. I fell in love with discovering information on the macro esthetic issues such as tooth size and tooth display, gingival heights and shape, lip movement, facial balance and symmetry – so many variables that are critical when designing and creating a natural and esthetic smile. Then zooming in to look at the micro esthetic issues: gingival and incisal embrasures, line angles and light deflection zones, surface morphology and texture…just so many things to manage with our esthetic cases. When we are doing freehand bonding, we have all of those challenges in our own hands – we control it all. Tooth length, tooth form, surface morphology, midline angulation – it’s all ours. On the other hand, when we are doing indirect restorations, we are dependent on our lab partners to manage many of these issues. I believe that one of the key ingredients to having a successful relationship with our lab technicians is to put them in a position to win. What does this mean – putting them in a position to win? Let me explain.
Transitional Bonding
Transitional Bonding
Right half mouth prepped
Right half mouth prepped
Provisionals right unprepped left
Provisionals right unprepped left
To begin with, if we are expecting great things from your dental lab technician, we need to provide them with great things from our end. Our diagnostic work up needs to be spot on – if the patient has a canted midline or a canted occlusal or smile plane, this is information that needs to be shared with the technician before beginning the treatment. How is the cant going to be resolved? How do the preparations need to be changed so that the technician can hide the cant? Once we have reviewed the case with our technician and have started the treatment, we need to be certain that we accurately transfer the maxillary cast to an articulator so our technician has a horizontal frame of reference when they are creating the restorations. We must give our technicians impressions that are accurate and show the detail of the margins. That means understanding preparation design so that our lab partner has the restorative space to create the ideal restorations. All of this is of course dependent on creating nice tooth preparations and having nice tissue management.
Finally, for our indirect esthetic cases, we need to create provisional restorations that guide the technician on the tooth shape, length and form that the patient desires with their definitive dentistry. It is a terrible idea to rely on the laboratory technician to create the final tooth form without understanding the patient’s goals and desires. By creating esthetic provisional restorations (temporaries), we can engage with our patients about what they like, and more importantly, what they don’t like with their current temporaries. This information then can be shared with our technician so that they can follow the shape and form of our provisional restorations but improve on the esthetic features dictated by the patient. The closer that our provisionals are to the patients demands, the easier it should be for the lab technician…they just need to recreate the same form that we have created. No guess work, and critically, no surprises for the patient at time of delivery (and much less stress for us at the seating appointment). So, if we want to have a great partner in our lab technician, we need to make sure that we are doing our part as well.
Preps complete
Preps complete
Bite registrations
Bite registrations
Bite registrations
Bite registrations
Bite registrations
Bite registrations
The following is a checklist that I have created to help you provide ideal communication with your lab technician when treating complex cosmetic cases (I use a checklist similar to this in my own practice).
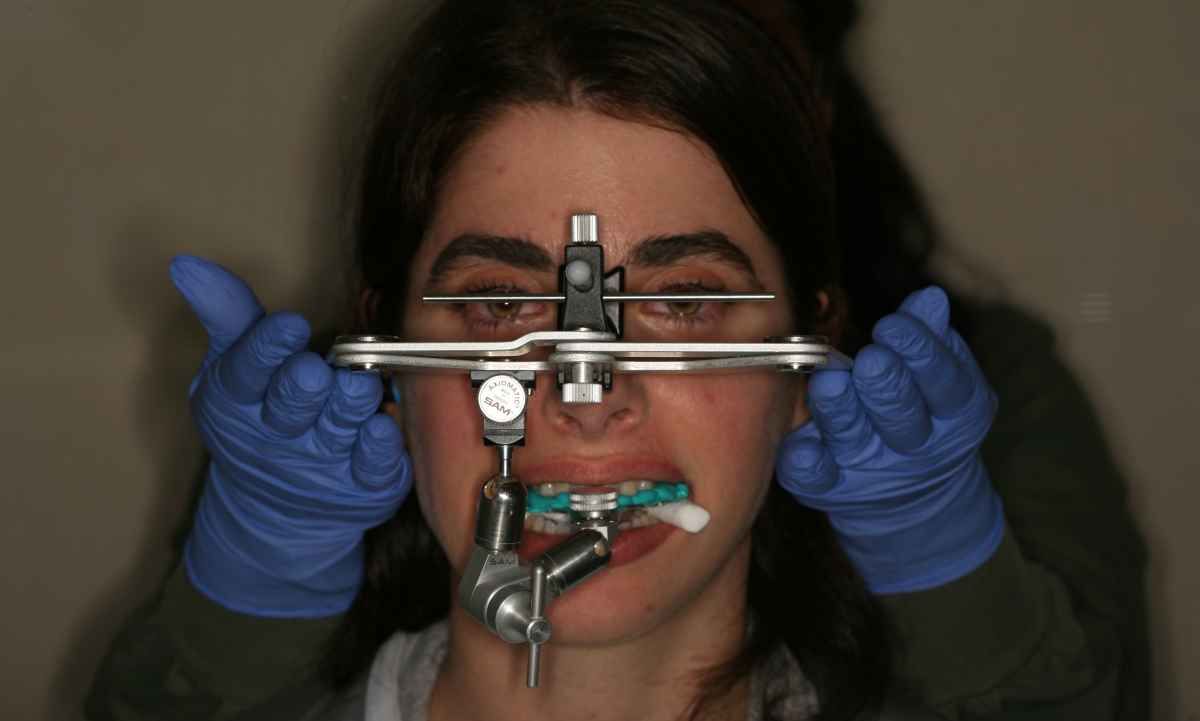
1. Preoperative photographs, x-rays, study models, facebow/earbow, CR bite (if necessary)
2. Case mounted on articulator – evaluate to be certain consistent with patient’s appearance
3. Place photographs in dropbox or some other suitable way to allow lab technician to view patient case
4. Phone conversation or person-to-person review of proposed treatment with lab tech
5. Review with patient treatment recommendations/needs
Close up impression
Close up impression
1. Shade photos of adjacent teeth if matching or lower teeth if full arch
2. Anesthesia
3. If intra-oral scanning, scan both arches and erase teeth to be prepped
4. Prep right or left side of arch only
5. Fabricate provisionals for the prepped ½ of arch – evaluate midline and provisional length relative to unprepared other half of arch (I take photographs with patient sitting upright in assistant’s stool with retractors in). This allows me to be certain that I am not canted in my preps/provisionals and if I’m not looking to add length, I can document that the provisionals are the same length as the unprepped side. If I am planning on adding length, then I can measure the length added on the provisionals. Adjust occlusion if maintaining the VDO (critical)
6. Anesthetize and prep other half of arch
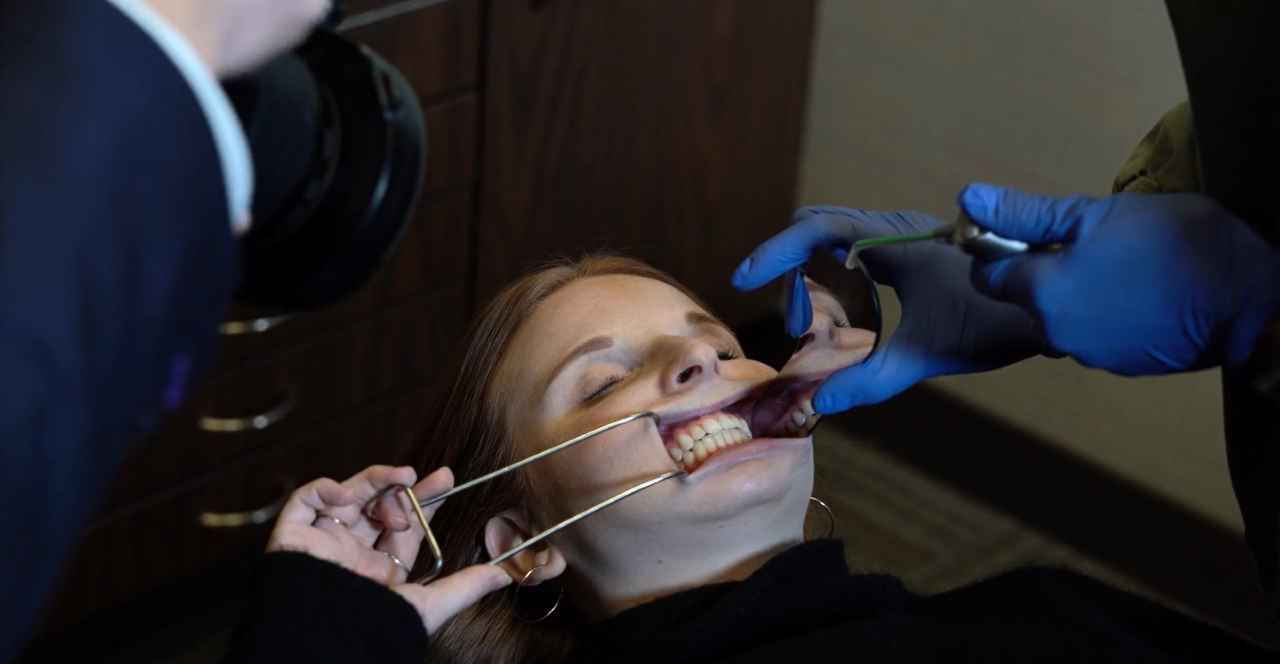
7. Try-in impression tray (if needed)
8. Isolate, place retraction cords or laser tissue trough…prepare for impressions
9. Photo of preps with shade tabs for lab
10. Scan or impression materials reviewed with team members
11. Remove retraction cords, rinse, or cleanse preps with Concepsis or other appropriate solution
12. Impression…evaluate impression, retake if necessary
13. Bite registration. Because we adjusted the provisionals for the first side prepped, we can place those provisionals when taking the bite registration for the other side, then use the bite registration of the second side to go back and take the bite registration of the side that we placed the provisionals
14. Trim bite registrations, verify fit and accuracy
15. Fabricate and adjust provisionals for 2nd half of arch
16. Full face photo with retractors in place for evaluating horizon/prep plane
17. Cement provisionals, final adjustments
Write your awesome label here.
Write your awesome label here.
Left provisionals right crowns try-in
Left provisionals right crowns try-in
1. Review with patient likes and dislikes with provisionals
2. Adjust provisionals to patient’s satisfaction
3. Photographs of provisionals (this is critical)
4. Study cast of provisionals (critical)
5. Facebow / earbow of provisionals
1. Impressions (digital or analog)
2. Facebow or earbow of provisionals
3. Model of provisionals (after adjusting and approved by patient)
4. Bite registrations
5. Shade photos of preps
6. Photos of patient with provisionals
7. Lab slip specifying material choice, shade of desired restorations and notations regarding changes from the provisionals for definitive restorations based on conversation with the patient
Go to our discussion page and leave a comment.
I’d love to hear any feedback on this post!
Yours for better dental health,