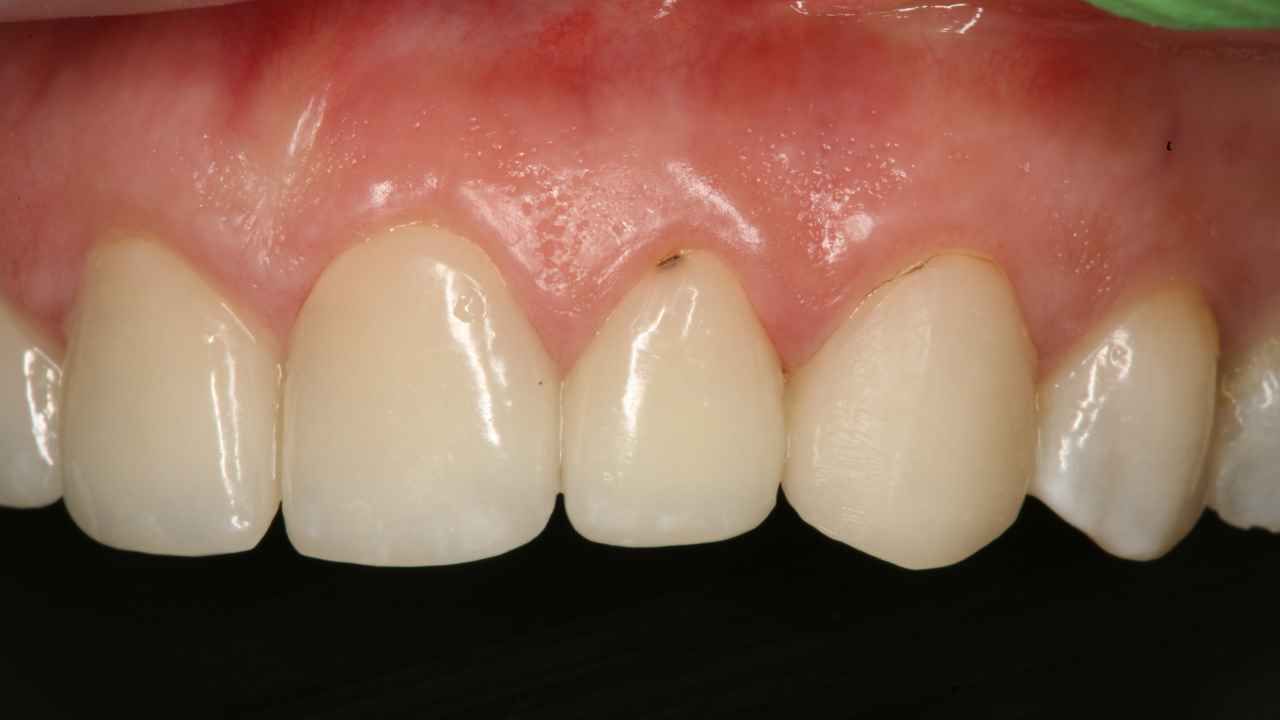
Reality check – it happens to all of us. There are going to be situations where, despite our best efforts, after years of service, there will be breakdown and staining at the margin of our porcelain restorations. I think most of us would agree that replacement of the restoration is likely the most ideal treatment, however there may be times due to patient finances, time issues or life situations, that replacement of the restoration is not the most ideal treatment. If I’m able to isolate the margin appropriately, and if the restoration is in good standing otherwise, a resin repair of the porcelain margin can be a good restoration to manage the initial or early failure of the restorative margin.
Now, before beginning the repair of the margin I believe that it is imperative to inform the patient that repairing the margin with composite is not as ideal as replacing the restoration. I inform the patient that I only expect the repair to last about 3-5 years, with likely marginal breakdown at the porcelain/composite interface to blame. I explain to the patient that they will likely see staining at the composite margin and slight separation of the composite from the porcelain over time. But for many patients, repairing and maintaining the restoration is a better alternative than replacing the restoration.
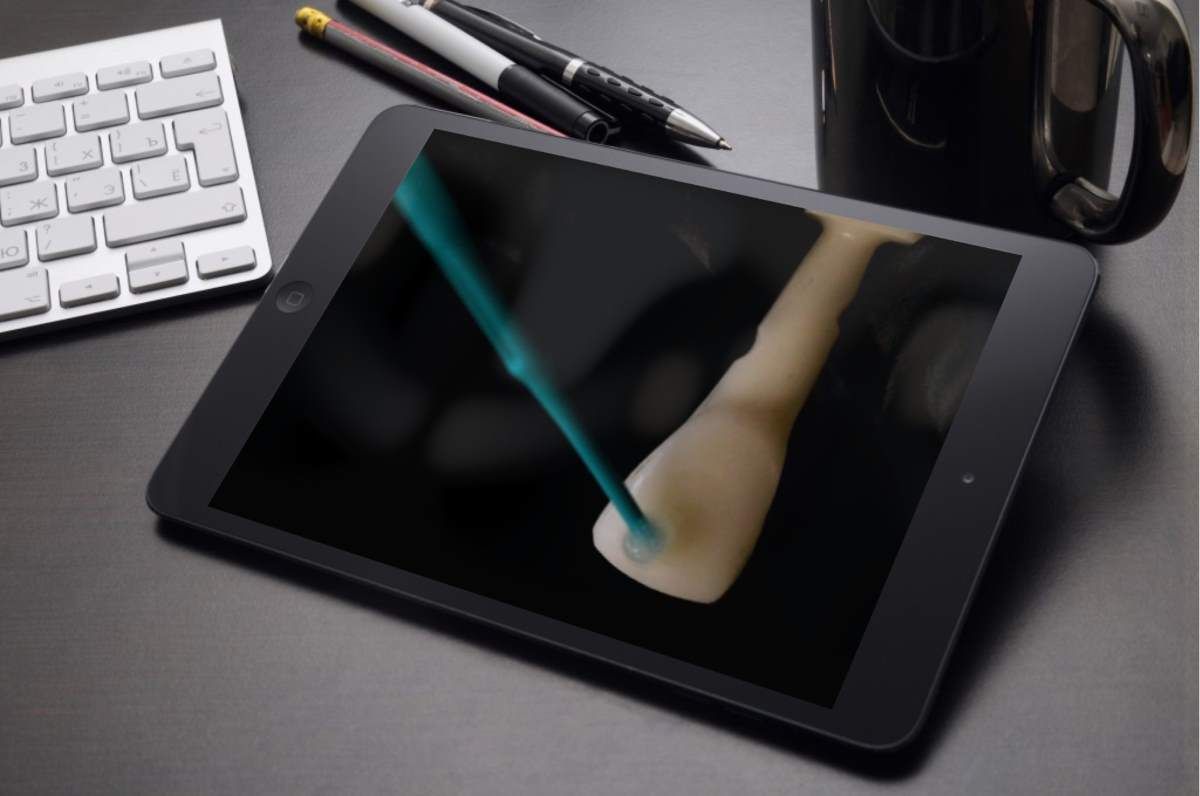
The following photographs are the documentation of a margin repair that I performed recently on a patient of my practice. I did not place the porcelain restorations, but the margins, outside of the facial stained margin, were in good order and the patient was otherwise pleased with the esthetics of the restoration. I hope the documented steps are helpful if you decide to perform this technique on your patients.
If you are able to secure a rubber dam, then that would be most ideal. Otherwise, as in this case, place retraction cord to gain separation from the gingival tissue to fully expose the faulty margin.
I like using the microdiamond burs from Brassler – in this case I’m using the
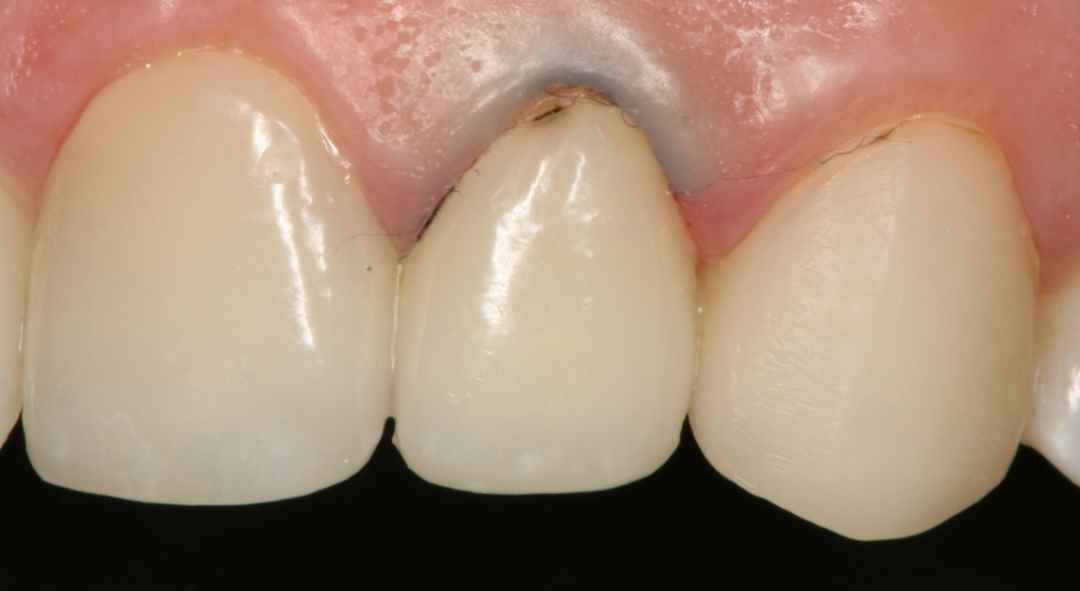
830M.31.012 bur. I like this pear-shaped bur because I can get into the defect while minimally impacting the porcelain. Following the stain removal, I place a bevel as if I were doing a Class V composite on tooth structure. The bevel should be similar in length to the defect, deeper at the porcelain-tooth interface, and if just fades away along the facial. No chamfers or deep penetrating margins along the facial porcelain.
Microetching with 50 micron aluminum oxide can help with the enhancement of the bond of the composite to porcelain.We need to use hydrofluoric acid to etch the porcelain, which means that we need to protect the exposed tooth structure and gum tissue. I use a liquid rubber dam material (Gingiguard). The flexible resin composite is flowed onto the tooth structure to prevent the acid from seeping onto the tooth or gum tissue. I manipulate the Gingiguard with an explorer then cure for 10 seconds.
It is important to know what type of porcelain that you are etching. There are classically 3 types of porcelain that we will see when working in dentistry today: 1) feldspathic, 2) lithium disilicate (i.e. eMax (Ivoclar), LiSi (GC America)), and leucite (Empress, Ivoclar). Each of these porcelains, unfortunately, have different etching protocols.
- Feldspathic porcelain should be etched with 9.5% hydrofluoric acid for 3-4 minutes.
- eMax and Empress type ceramics should be etched with 5% HF. Emax should only be etched for 20 seconds, while Empress should be etched for 1 minute.
Of course, the challenge is figuring out what kind of porcelain you’re dealing with if you haven’t done the initial restorations. Generally speaking, if you are working on a PFM or Zirconia layered crown, you are working with feldspathic porcelain. If it is a more recently placed all ceramic restoration (not zirconia), it’s likely that it is lithium disilicate.
The challenge is older all ceramic restorations – how do you know if its Empress, or say eMax. They both are etched with 5% HF, so the question is for how long. If the restoration is bright (high value), I’m thinking that it is probably an Empress restoration. Empress also isn’t as hard as eMax when prepping – it almost feels ‘softer’ when drilling. But sometimes in the end, it’s a bit of a guess.
After the requisite etching time, the hydrofluoric acid is rinsed, being careful to suction the acid off of the porcelain prior to rinsing and drying.
It is important to recognize that you must use extreme care when using hydrofluoric acid in the mouth. Ideally, rubber dam isolation is used to reduce the risk of the patient exposure to HF.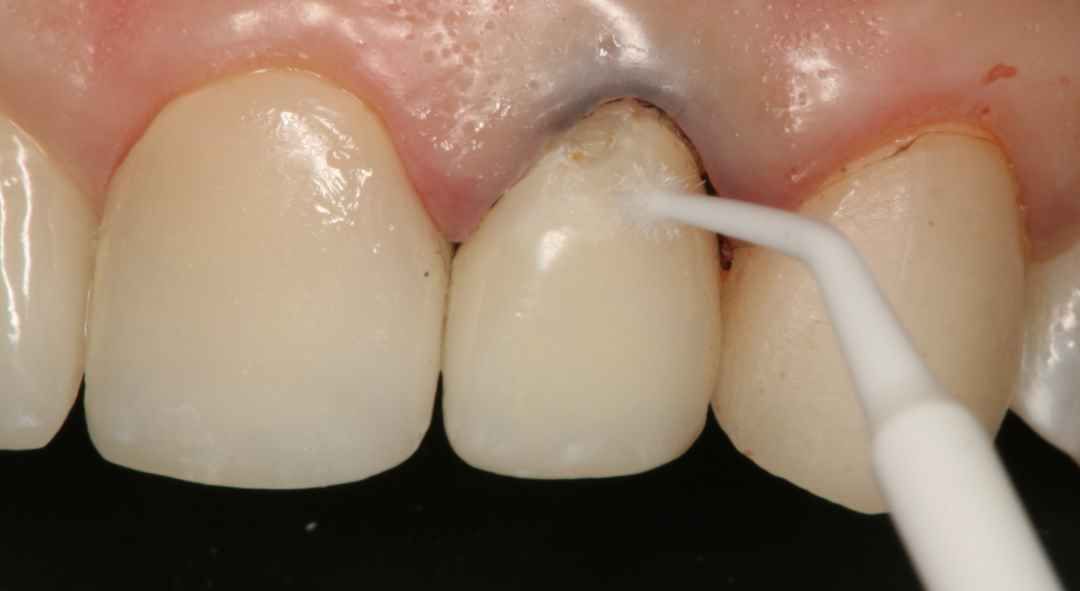
Silane is an important material to use when bonding to porcelain. Silane is a ‘coupler’ that promotes infusion of the resin into the etched porcelain. I place a layer or two of the silane on the etched porcelain and allow the silane to sit for about a minute before air drying. After the silane has been placed and evaporated, the liquid rubber dam material is removed.
If there is even a modest amount of enamel to bond to, then I will etch the enamel first with 37% phosphoric acid. Phosphoric acid still gives us the best bond to enamel, compared to our self-etch or universal etch adhesives.
In this case, since there is no enamel at the cervical margin, I will use a self-etch adhesive system. I’m using Clearfil SE (primer and bond) – a self-etch system with decades of clinical success. The primer is lightly scrubbed with a small microbrush onto the tooth surface for about 20 seconds, then air thinned. The second part of the system, the ‘Bond’ is applied with an artist’s brush over both the tooth surface and the etched porcelain. The bond is air thinned and light cured for 20 seconds. For more information on different etching systems, check out any of my direct resin courses on
dothandson.com. As I describe in my
Class V course, in shallow Class V restorations, a dentin layer may not be necessary. The dentin layer is typically used to add underlying chroma to the restoration prior to placing the enamel layer. In this case, I’m using a very thin layer of hybrid flowable composite
(Renamel, Cosmedent) not so much to add chroma (the ceramic that I am matching does not have a lot of chroma in the gingival third) – but I’m using the flowable to ensure that my restorative material fills into any of the surface irregularities of the preparation. Now it is critical that I don’t overfill with my flowable – I need to save room for the enamel layer (microfill).
A secondary advantage of using the flowable is that by having that first layer placed (and cured), it is much easier to place the microfill because of the ‘stickiness’ of one composite to the other. This will help prevent ‘pull back’ of the microfill composite when I place that layer. The final advantage of using the hybrid flowable is that the hybrids are radio-opaque, whereas the microfills are not identifiable radiographically. This radiopacity issue is obviously more critical in Class II and Class III restorations, but still is nice to see when x-rays are taken. The hybrid flowable is cured for 10 seconds.
I am a firm believer that whenever possible, a microfill composite is used as the facial layer of our direct composite restorations. Microfills give us the best polish, and this polish maintains long term, unlike the microhybrids or nanofills. I roll the microfill
(Renamel) into a small ball, place over the cervical surface, and using titanium coated instruments, blend the composite onto the tooth surface at the cervical margin and onto the etched porcelain. Care is taken to be certain that the composite is as smooth as possible before
final polymerization (60 seconds).A layer of glycerin (Oxygone, Cosmedent) is placed over the composite after 10 seconds of curing, prior to the full curing. The glycerin helps insure complete polymerization of the composite and elimination of the oxygen inhibited layer. Glycerin is water soluble and easily rinsed off after the final polymerization.
Contouring can be completed with carbide burs, diamond burs or discs. I generally prefer to use discs
(FlexiDiscs System) when blending composite to the etched porcelain surface. I work the discs from composite to porcelain, first using the most coarse discs with moderate pressure, but light to medium speed
(~ 5000-8000 rpm on my electric handpiece)
It is critical that you do not use water spray. You will see the ‘white line’ when you first begin your contouring. When the composite is not smooth enough to the porcelain margin, composite dust settles into this interface giving us the white line. So carefully, working composite to porcelain, run your coarse disc until that white line disappears. There ya’ go – perfectly smooth margin. I’ll follow up with the medium coarse disc which will give my microfill a ‘matte’ finish.
At this point, there should be no defects in the composite surface – any pits or defects should be corrected prior to moving onto the polishing steps (see my blog on composite repairs). Along the cervical margin I’ll use a fine diamond mini bur (8392-016 Brassler), using a blunt instrument to retract the gingival tissue as I move along the cervical.
I use a combination of rubber cups and discs for the final polish. I like using Cosmedent’s Flexicups because of their flex – they will conform to the shape of the cervical contour and allow me to bring the cups subgingival. The cups come in blue (medium coarse) and pink (fine). I use water spray when using the rubber cups to keep the tooth cool while polishing. Over the facial surface, and onto the porcelain interface, I prefer to use the polishing discs. With the Flexidisc system, the yellow and pink discs are used, being sure to flex the discs onto the composite/porcelain surface. The discs are run with increased speed and pressure.
The final step in polishing is using an aluminum oxide polishing paste
(Enamelize) with a polishing disc
(Flexibuff). Floss is run interproximally to ensure smooth contours.
Whether you are using a rubber dam or retraction cord, it's time to remove the isolation. Hopefully, the cord is able to be removed without significant trauma to the tissue. If the cord has been ‘bonded’ to the tooth surface, I use an anterior sickle scaler and run the scaler horizontally along the margin to release the adhesive from the cord.
Ok, that’s the technique, step-by-step. If you have any questions, please submit questions at
www.dothandson.com/social. Yours for better dentistry,